Touch
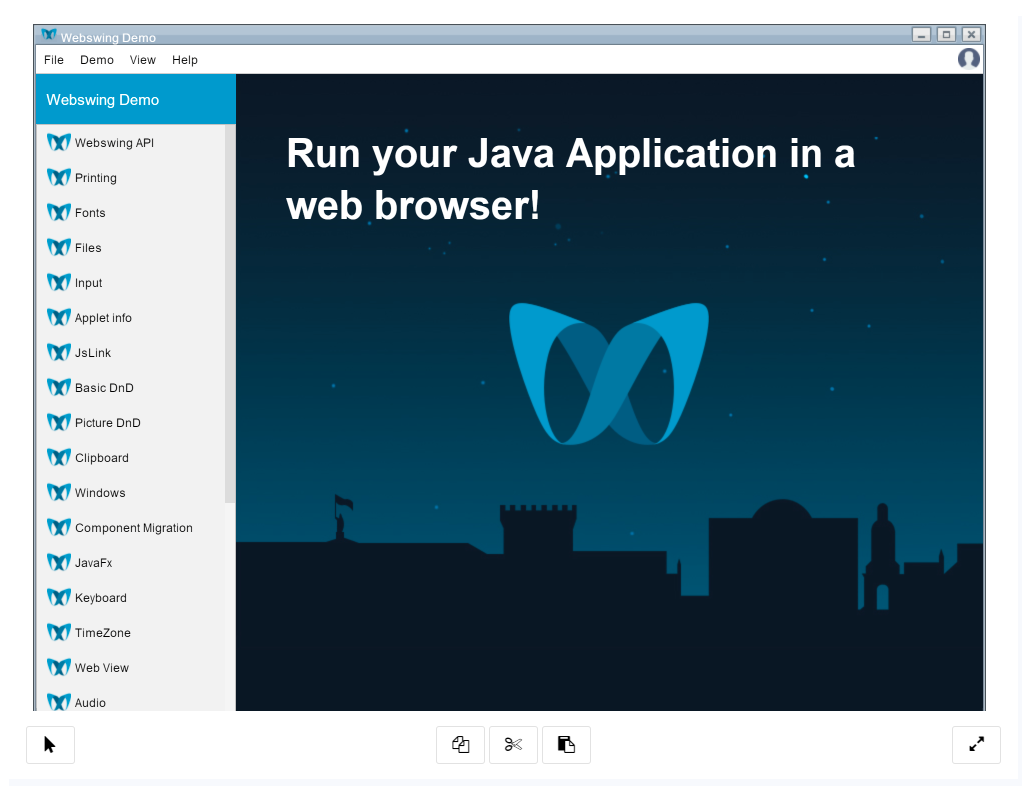
Webswing offers enhanced touch support for touch devices such as mobile phone, tablet or notebook with touch screen. With Webswing's touch toolbar it is easier to control your application and access clipboard.
Setup
There is no extra setup if you want to use touch support. Just open your Webswing application on a touch device and you will see the touch toolbar.
If you have a desktop/notebook device with touch screen, you can also leverage the touch support. In this case you can switch to touch mode simply by touching the screen. If you want to switch back to native mouse mode, just move your mouse over Webswing again.
WebswingApi
There is a utility method in WebswingApi to support touch:
/**
 * Is touch mode active?
 */
public boolean isTouchMode();
isTouchMode- returnstrueif the current session is in touch mode
Touch toolbar
The touch toolbar contains these default buttons:
toggleMode- toggle between touch mode and pointer mode; in pointer mode you can control a mouse cursor by dragging anywhere on the page; use tap as a primary button click and long tap as secondary button click.switchToDesktop- this button shows only for desktop/notebook devices with touch screen; switches the mode from touch to desktopcopy- copies the current selection in Webswingcut- cuts the current selection in Webswingpaste- opens a paste dialog where you can manually paste content to an inputfullscreen- toggle fullscreen mode

Customization
The touch toolbar is customizable and extendable. You can hide any of the default buttons, change their action or even add your own buttons to the toolbar.
To hide the fullscreen button use this customization:
var webswingInstance0 = {
    options: {
        autoStart: true,
        ...
        customization: function(injector) {
            var config = injector.services.touch.touchBarConfig;
            config.buttons.defaultButtons.fullscreen.hidden = true;
        }
    }
}
To change an action of a copy button, do this:
var webswingInstance0 = {
    options: {
        autoStart: true,
        ...
        customization: function(injector) {
            var config = injector.services.touch.touchBarConfig;
            config.buttons.defaultButtons.copy.action = function() {
                alert('copy action');
            }
        }
    }
}
The default buttons have following names - toggleMode, switchToDesktop, copy, cut, paste, fullscreen.
And following properties you can customize:
label[string] - html element to render inside the<button>title[string] - title attribute of the<button>enabled[boolean] - if not enabled, the button is not appended to the toolbarhidden[boolean] - hidden buttons are appended to the toolbar but are not visibleaction[function] - action performed on button tap
To add a custom button, do this:
var webswingInstance0 = {
    options: {
        autoStart: true,
        ...
        customization: function(injector) {
            var config = injector.services.touch.touchBarConfig;
            config.buttons.left.push({
                label: '<span>i</span>',
                title: 'Information',
                enabled: true,
                hidden: false,
                action: function(button) {
                    alert('information action');
                }
            });
        }
    }
}
Using config.buttons.left the button will be appended to left part of the toolbar. You can also use center and right instead to position the button.
Scaling/zoom
Webswing supports an experimental feature to support zoom with pinch gesture. If you want enable this feature use the following customization.
var webswingInstance0 = {
    options: {
        autoStart: true,
        ...
        customization: function(injector) {
            var config = injector.services.touch.touchBarConfig;
            config.scalingEnabled = true;
        }
    }
}
Static scale/zoom
If your application needs a higher screen resolution to layout its components and you run it on a device with smaller screen resolution, you may want to start the application zoomed out. With the following setting on webswing-element you are able to start the application zoomed out/in if the resolution does not fit given dimensions. So whenever the application is opened on a touch device, it will always have at least 1500x900 resolution.
<div class="webswing-element" data-webswing-instance="webswingInstance0" data-touch-width="1500" data-touch-height="900">
    ...
</div>
In addition you also have to enable static scaling using a customization:
var webswingInstance0 = {
    options: {
        autoStart: true,
        ...
        customization: function(injector) {
            var config = injector.services.touch.touchBarConfig;
            config.staticScaleEnabled = true;
        }
    }
}
Disable touch toolbar
If you don't want to use the touch toolbar, you can hide it using this startup configuration option:
var webswingInstance0 = {
    options: {
        autoStart: true,
        ...
        hideTouchBar: true
    }
}
Auto-switch touch mode
In case you have a device with touch screen and a mouse pointer you can switch between the two modes. A dialog shows that lets you switch to touch mode when you touch the screen or switch to mouse mode when you move the mouse. To automatically switch between the modes without the confirmation dialog you can use the following configuration:
var webswingInstance0 = {
    options: {
        autoStart: true,
        ...
        customization: function(injector) {
            var config = injector.services.touch.touchBarConfig;
            config.touchModeAutoSwitch = true;
        }
    }
}
Input mode support
To support different input modes on touch devices Webswing provides an API:
JTextField text = new JTextField("email@email.com");
WebswingTextComponentUtil.setInputMode(text, InputMode.email);
Find more information about input mode support of HTML input in web pages here.